

Building the taxonomy
The page has two panes: field types on the left, the selected type’s value tree on the right, with Import and Export buttons in the top bar.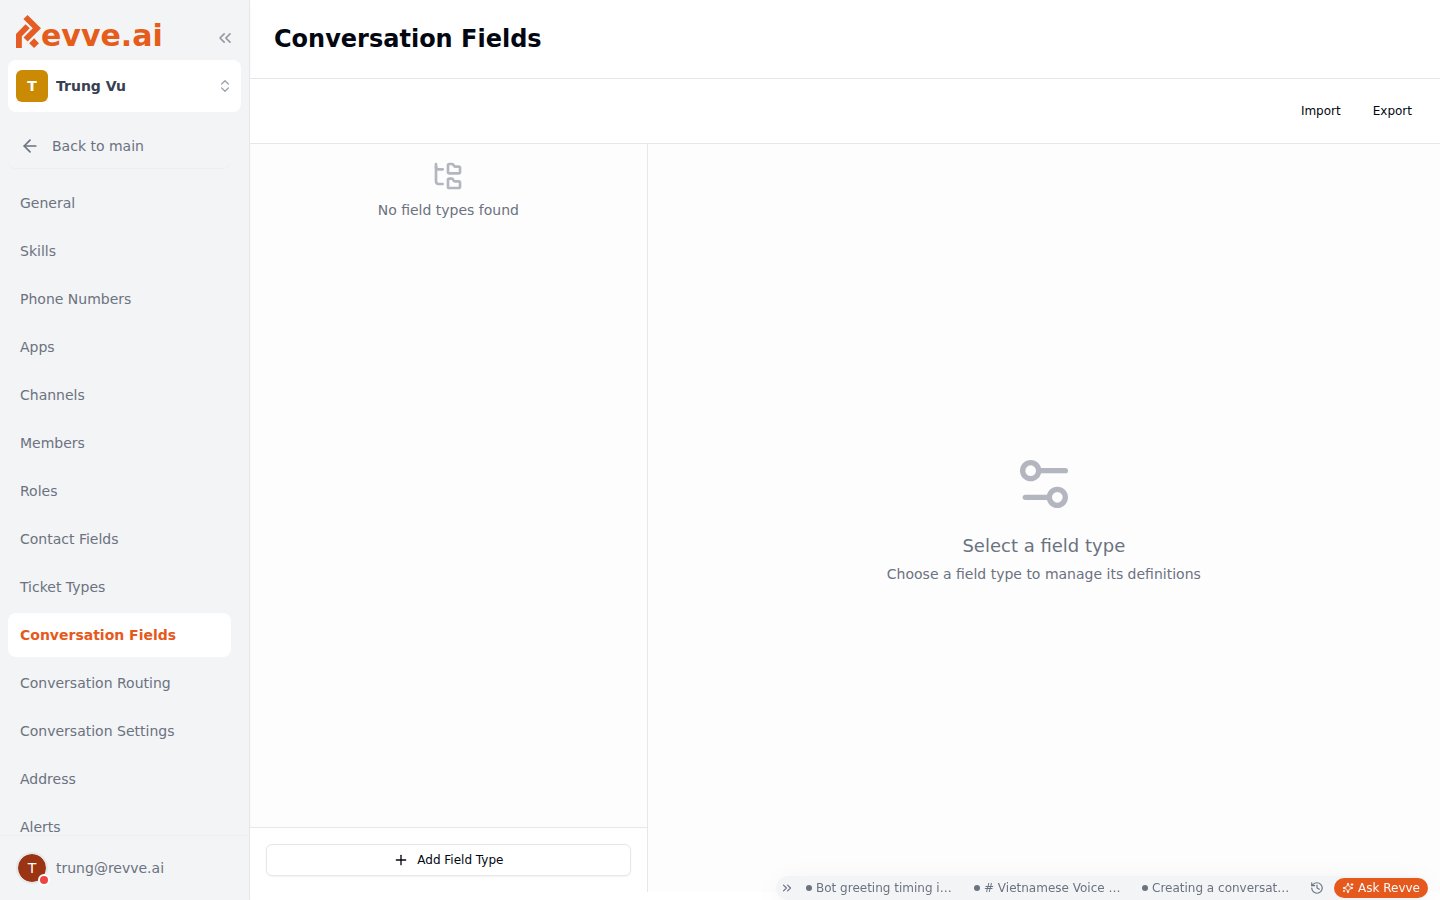
Field types
The left pane lists your field types (empty state: “No field types found”). Click Add Field Type at the bottom — the “Create Field Type” popover asks for a name only. The ⋯ menu on each row offers Edit (rename) and Delete. Deleting a field type asks for confirmation: “Are you sure you want to delete{name}? This will permanently delete the field type and all its definitions. This action cannot be undone.”
Definitions (the value tree)
Select a field type and the right pane shows “{name} Definitions” — “Manage the hierarchical structure for this field type”. To build the tree:
- Click Add in the header to create a root value (the “Add Definition” popover).
- Hover any existing value and click the + icon → Add Child to nest a value under it.
- Repeat to whatever depth you need. Each value shows an
L{level}badge (L1 for roots, L2 for their children, and so on) and chevrons to expand or collapse its branch.
Import and Export
Export downloads the full taxonomy as a JSON file (custom-fields-{team}-{date}.json). Import reads such a file and creates the field types in it, skipping any field type whose name already exists (it reports which ones were skipped). Their main job is backing up before a restructure so you can restore if it goes wrong.
Where conversation fields surface
A taxonomy is only worth building because four features consume it:
Every field change is also recorded on the conversation’s history as old path → new path, so you can see when and how a conversation was reclassified.
Designing a good taxonomy
- Design around routing and reporting, not around everything you could tag. Start from the questions “which team should get this?” and “what do I want to count?” A two-level “Topic” tree (Billing → Refunds) lets a routing rule target the whole Billing branch or just Refunds — that’s usually all the depth you need. Deep, exhaustive trees mostly produce values nobody selects.
- Automate first, hand-tag second. Wherever a flow already knows the answer — the customer reached the refunds node, so the topic is Billing → Refunds — set the field with a node automation. Reserve Inbox hand-tagging for what automation can’t infer; operators are inconsistent taggers, automations aren’t.
- Export before you restructure. Value deletion has no undo and no confirmation; the JSON export is your only rollback.
What’s Next
- Conversation Routing — write custom rules that match on your new fields.
- Flow Node Features — set fields automatically from your chat flows.