Overview
| Feature | What It Does | Where It Appears |
|---|---|---|
| Welcome Messages | Pre-written messages displayed as if the agent sent them when the chat opens. | At the top or bottom of the chat window (configurable). |
| Conversation Starters | Clickable prompt buttons that help visitors begin a conversation quickly. | Below or above the message area, depending on layout. |
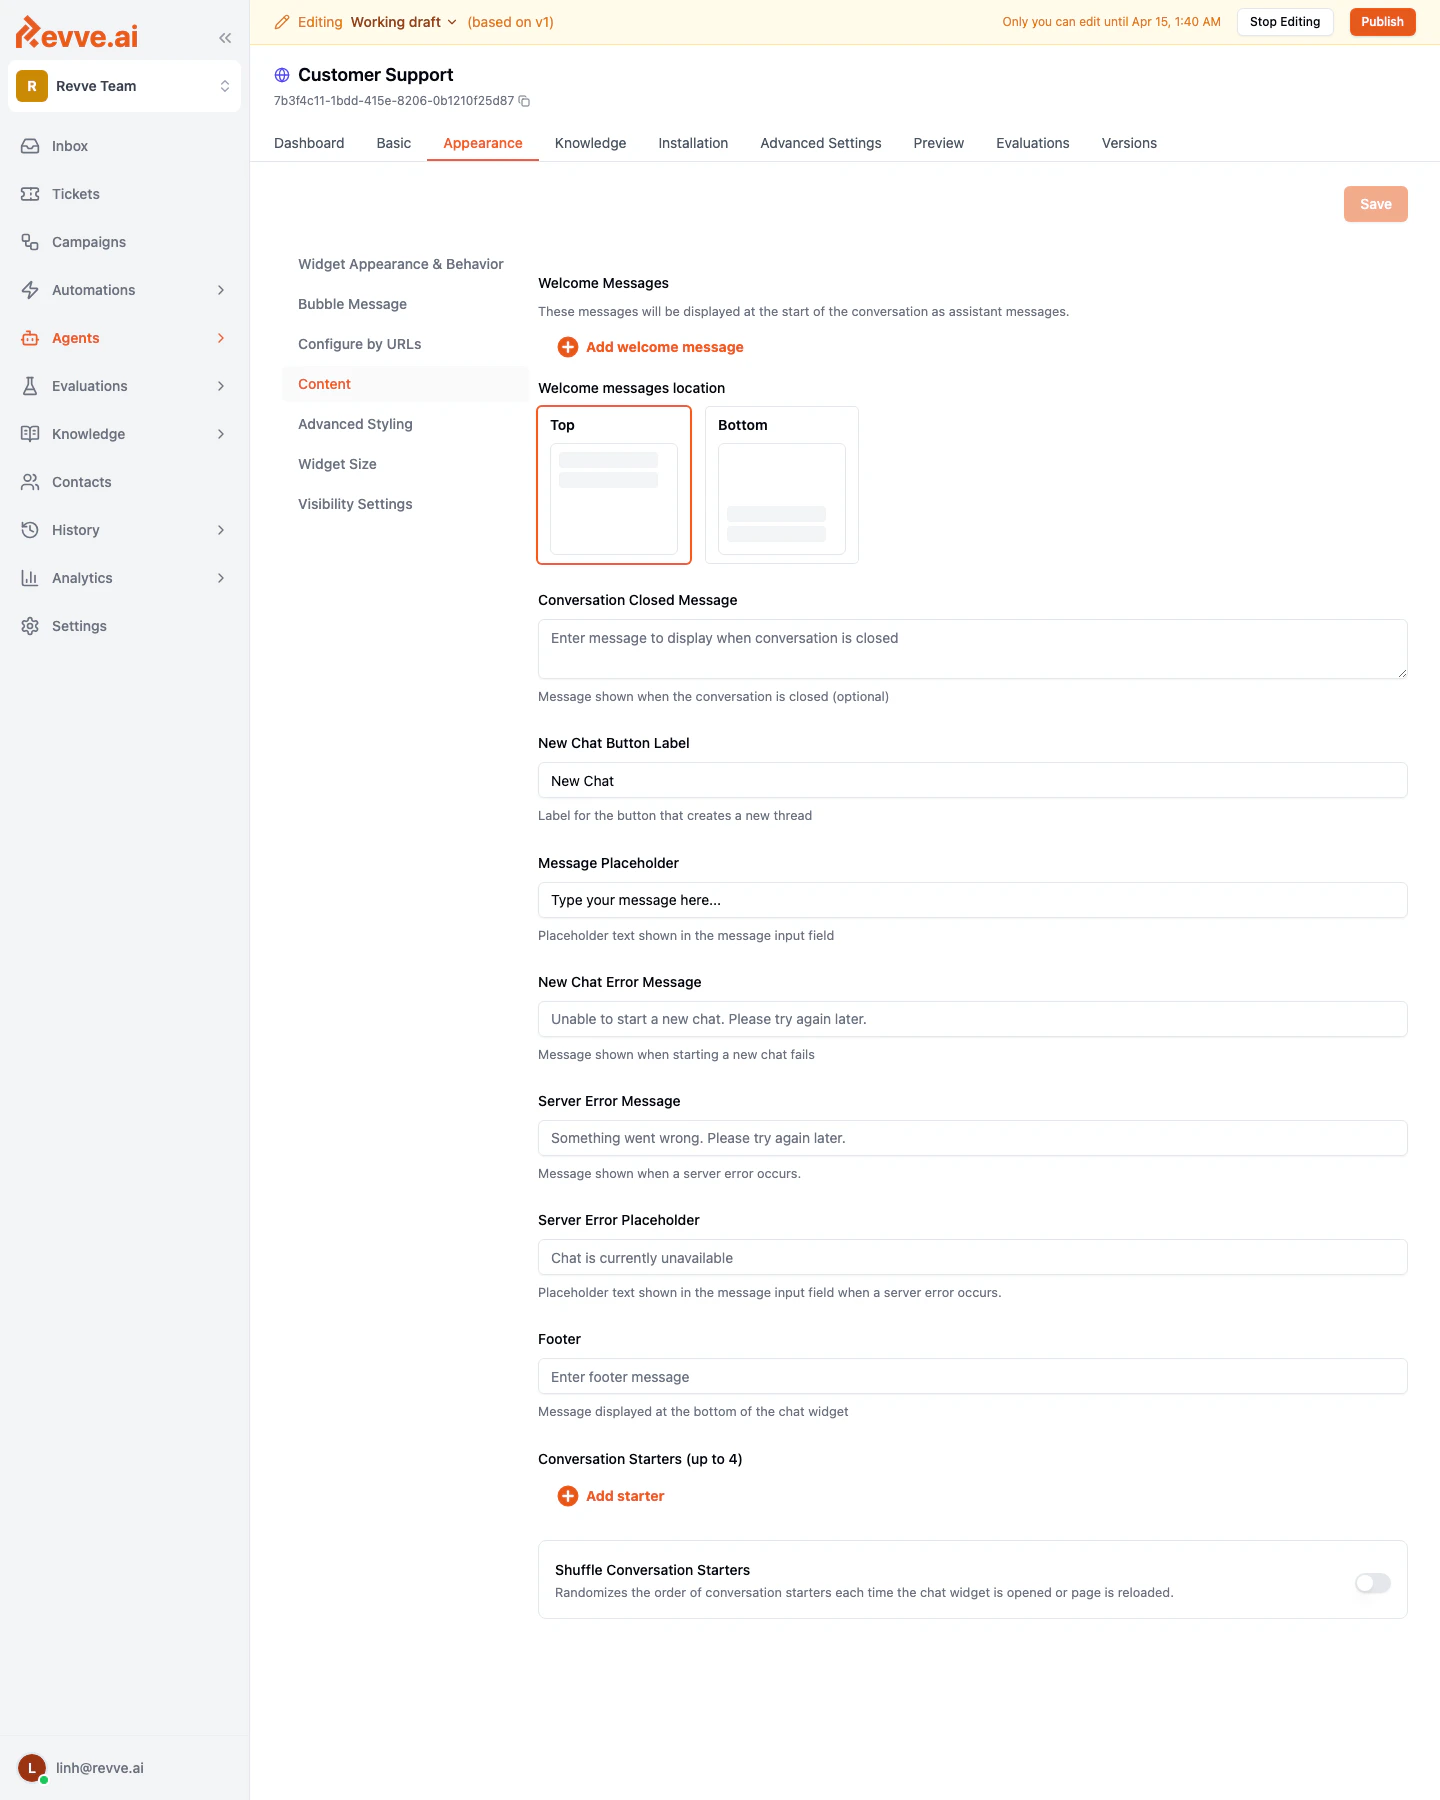
Welcome Messages
Welcome messages are assistant-style messages that appear automatically when a visitor opens the chat widget. They set the tone for the conversation and let visitors know what the agent can help with.How to Configure
- Navigate to Agents > Chat Agents and select your agent.
- Click the Appearance tab.
- Select Content from the left sidebar.
- Click Start Editing if not already in edit mode.
- Under Welcome Messages, click Add welcome message to create a new message.
- Type the message text in the input field.
- Add additional messages if you want a multi-message greeting sequence.
- Click Save when done.
Welcome Messages Position
You can choose where welcome messages appear within the chat window:| Position | Behavior |
|---|---|
| Top | Messages appear at the top of the chat area, above any conversation. This is the default. |
| Bottom | Messages appear at the bottom, closer to the input field. |
Tips for Welcome Messages
- Keep it brief. One to two short messages work best. Long welcome sequences may feel overwhelming.
- Set expectations. Let visitors know what the agent can help with. For example: “Hi! I can help you with product questions, pricing, and scheduling a demo.”
- Use multiple messages for a natural feel. Instead of one long paragraph, split your greeting across two messages to mimic natural conversation flow.
- Leave it empty if using conversation starters. If you prefer to let visitors initiate the conversation, you can skip welcome messages entirely and rely on conversation starters instead.
Conversation Starters
Conversation starters are clickable buttons that appear in the chat widget. When a visitor clicks one, the text is sent as their first message, immediately starting a conversation on that topic.How to Configure
- On the Appearance > Content tab, scroll down to Conversation Starters (up to 4).
- Click Add starter to create a new entry.
- Type a prompt that represents a common visitor question or intent.
- Add up to 4 conversation starters total.
- To remove a starter, click the trash icon next to it.
- Click Save when done.
Shuffle Conversation Starters
Enable the Shuffle Conversation Starters toggle to randomize the order of starters each time the chat widget is opened or the page reloads. This is useful when you have multiple starters and want to give them equal visibility.Tips for Conversation Starters
- Write them from the visitor’s perspective. Use first-person phrasing like “I’d like to learn about pricing” or “Help me schedule a demo.”
- Cover your top use cases. Choose the 3-4 most common reasons visitors contact you.
- Keep them short. Starters appear as buttons, so concise text (under 50 characters) works best.
- Use them alongside welcome messages for the best visitor experience. The welcome message introduces the agent, and starters give visitors clear next steps.
Example Configuration
Welcome Messages:- “Hi there! I’m your Customer Support assistant.”
- “I can help with product questions, account issues, and scheduling. How can I help you today?”
- “Tell me about your pricing plans”
- “I need help with my account”
- “Schedule a demo”
- “Talk to a human”
Related
- Configuring Agent Identity — set the agent name that appears alongside welcome messages.
- Language and Tone Settings — ensure welcome messages match your agent’s configured tone.