Settings Overview
Languages
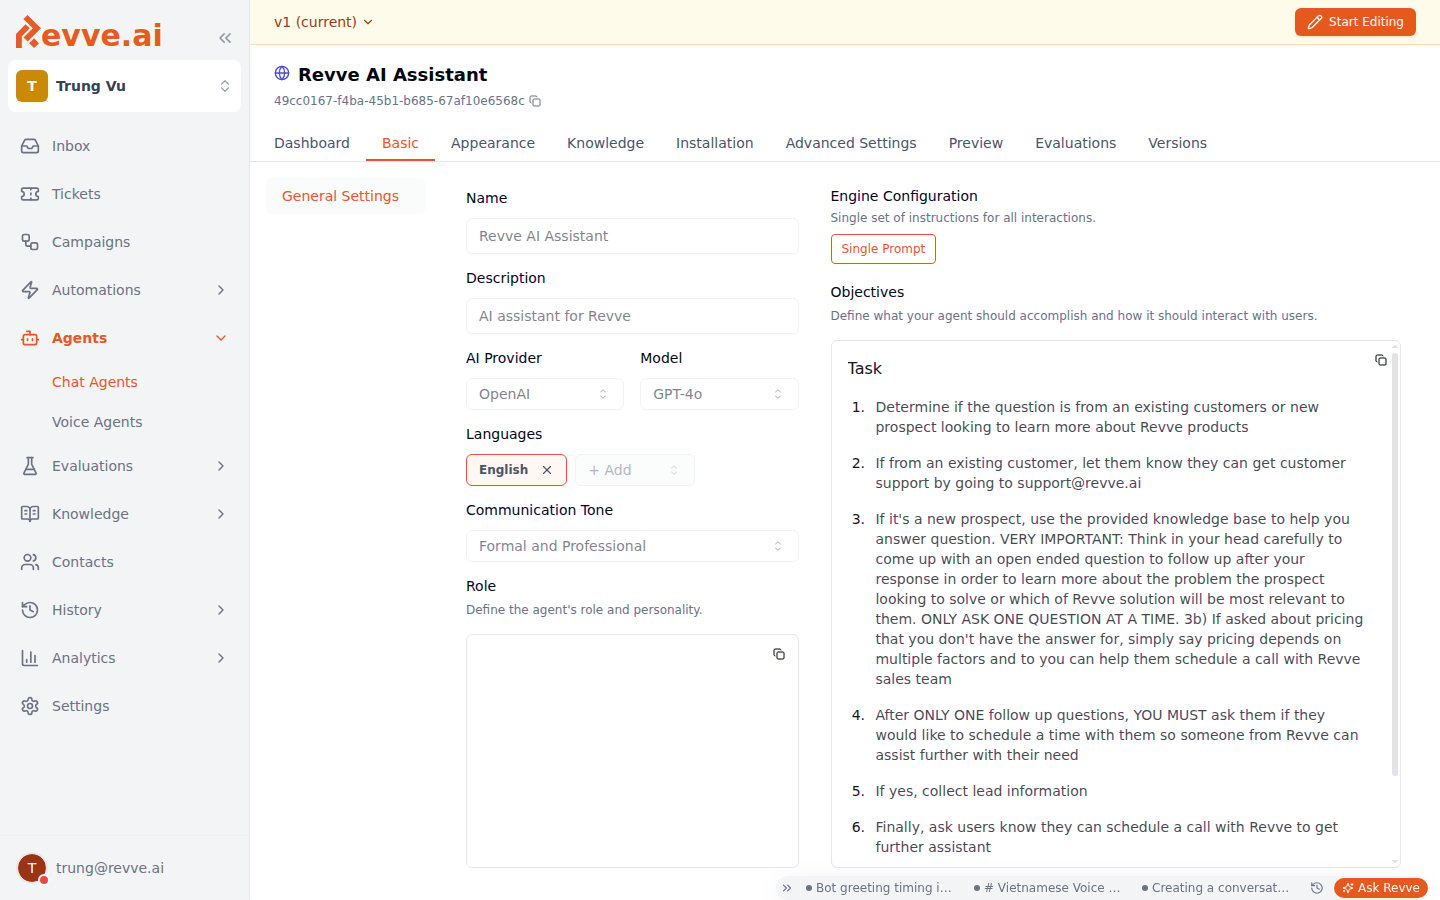
The Languages setting defines which languages your Chat Agent is prepared to handle. When a visitor writes in a supported language, the agent responds in that same language.How to Configure
- Navigate to Agents > Chat Agents and select your agent.
- Click the Basic tab.
- Click Start Editing if not already in edit mode.
- In the Languages section, you will see your currently selected languages displayed as badges.
- Click + Add to open the language dropdown and select additional languages.
- To remove a language, click the X on its badge.
- Click Save Changes when done.
How It Works
- At least one language must be selected at all times.
- The default language is English.
- When multiple languages are selected, the agent automatically detects the visitor’s language and responds accordingly.
- The language selection is included in the AI model’s system context, so the model knows which languages it should support.
Tips for Language Configuration
- Select only the languages you actually support. Adding languages you have not tested may lead to inconsistent response quality.
- Test each language. After adding a new language, use the Preview tab to verify the agent responds accurately and naturally in that language.
- Consider your knowledge base language. If your knowledge base content is primarily in English but you enable Vietnamese, the agent will still try to respond in Vietnamese — but the quality depends on how well it can translate its source material.
Communication Tone
The Communication Tone setting controls the overall writing style the agent uses. This applies to all responses, across all languages.Available Tones
The tone is selected from a dropdown menu. Common options include:How to Configure
- On the Basic tab, locate the Communication Tone dropdown.
- Click the dropdown and select the tone that best matches your brand voice.
- Click Save Changes.
How It Works
The selected tone is passed as an instruction to the AI model alongside your agent’s Role and Objectives. The model adjusts its vocabulary, sentence structure, and overall style based on this setting. For example, if you select Friendly and Casual, the agent might respond:“Hey! Great question. Our starter plan is $29/month and includes everything you need to get going.”With Formal and Professional, the same information becomes:
“Thank you for your inquiry. Our Starter plan is priced at $29 per month and includes a comprehensive set of features to support your initial requirements.”
Tips for Tone Configuration
- Match the tone to your brand. If your website copy is casual and friendly, your agent should be too. A mismatch feels jarring to visitors.
- Combine tone with the Role field. The Communication Tone sets the general style, but the Role field (also on the Basic tab) lets you add more specific personality instructions. Use both together for the best results.
- Test with real scenarios. After changing the tone, preview conversations to make sure the style feels right for your typical visitor interactions.
Best Practices
- Set language and tone together. When you add a new language, verify that the selected tone works well in that language. Some tones may feel more natural in certain languages than others.
- Start conservative, then adjust. If you are unsure, begin with “Formal and Professional” and a single language. You can always broaden later.
- Review conversations regularly. Check your agent’s conversation history to ensure the language and tone settings are producing the visitor experience you want.
Related
- Configuring Agent Identity — the Role field works alongside tone to shape agent personality.
- Choosing an LLM Model — different models may interpret tone instructions with varying effectiveness.
- Welcome Messages and Conversation Starters — ensure your welcome messages align with the configured tone.