

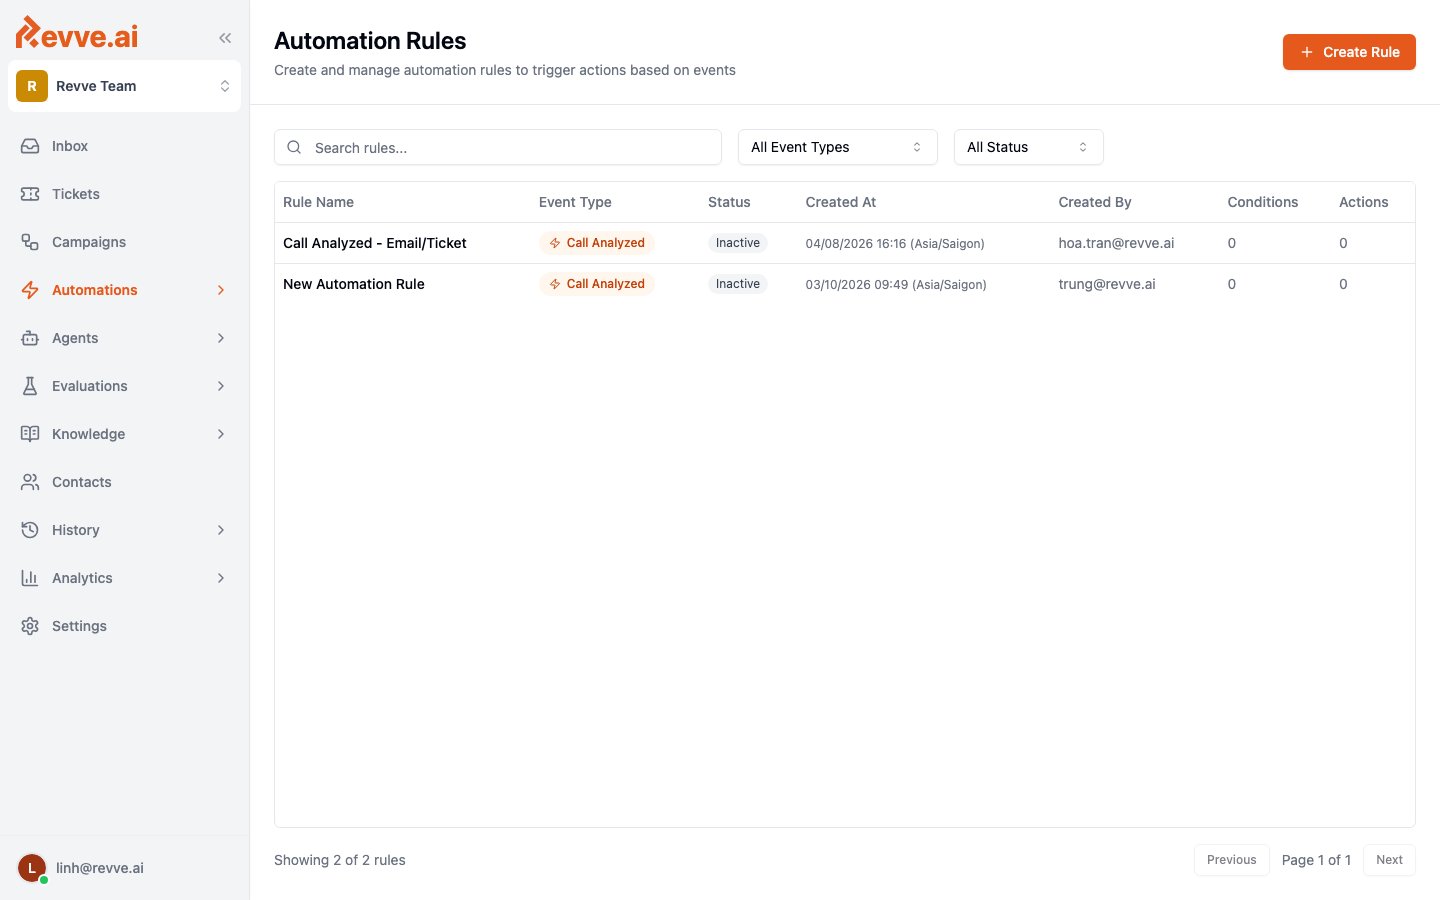
How a rule executes
- A rule is built from three parts: one trigger event, optional conditions, and one or more actions.
- When the event fires, every active rule on your team listening to that event is checked. Rules run in creation order. New rules start Inactive — nothing runs until you toggle Activate.
- Conditions are AND-only: “All conditions must match for this rule to apply”. There is no OR. A rule with zero conditions fires on every occurrence of its event.
- When conditions match, “Actions execute sequentially when conditions match” — in the order you arranged them. A failed action does not stop later actions, with one exception: a later action that references a failed prior action’s result is skipped.
- Processing is asynchronous and near-real-time — events are queued, so actions typically run seconds after the event. An event fires the automation once; there are no automatic re-runs at the event level. The only retries are the opt-in per-action HTTP retries on API Call actions (up to 5 attempts, 10 seconds apart).
payload.fieldName, and action templates insert values with {{payload.field}} syntax. The rule editor’s Event Preview panel shows recent real events so you can explore which fields are available before you write anything. The full templating and operator reference lives in Creating Automation Rules.
What rules can react to
Eleven trigger events cover the lifecycle of conversations, contacts, and campaigns:
The two workhorses for most teams are Call Analyzed (push every call’s outcome and extracted data into your systems) and Enrollment Completed (branch on the exit reason — hand successes to sales, route failures to a nurture campaign).
What rules can do
Five action types are available from the action menu:
You may also see managed actions on some rules — Salesforce/HubSpot sync actions like Save Call Result, Save Chat Result, Save Lead, and Save Campaign Member. These appear read-only with a “managed” badge: they’re provisioned by the CRM app’s settings, not addable from the action menu.
Because actions run sequentially and can reference earlier results, you can chain them — for example, an API Call that looks up an account in your backend, followed by an Update Contact Field that writes the response onto the contact. Configuration details for each action are in Creating Automation Rules.
Monitoring executions
The Executions page is the audit trail for everything your rules did — or didn’t do.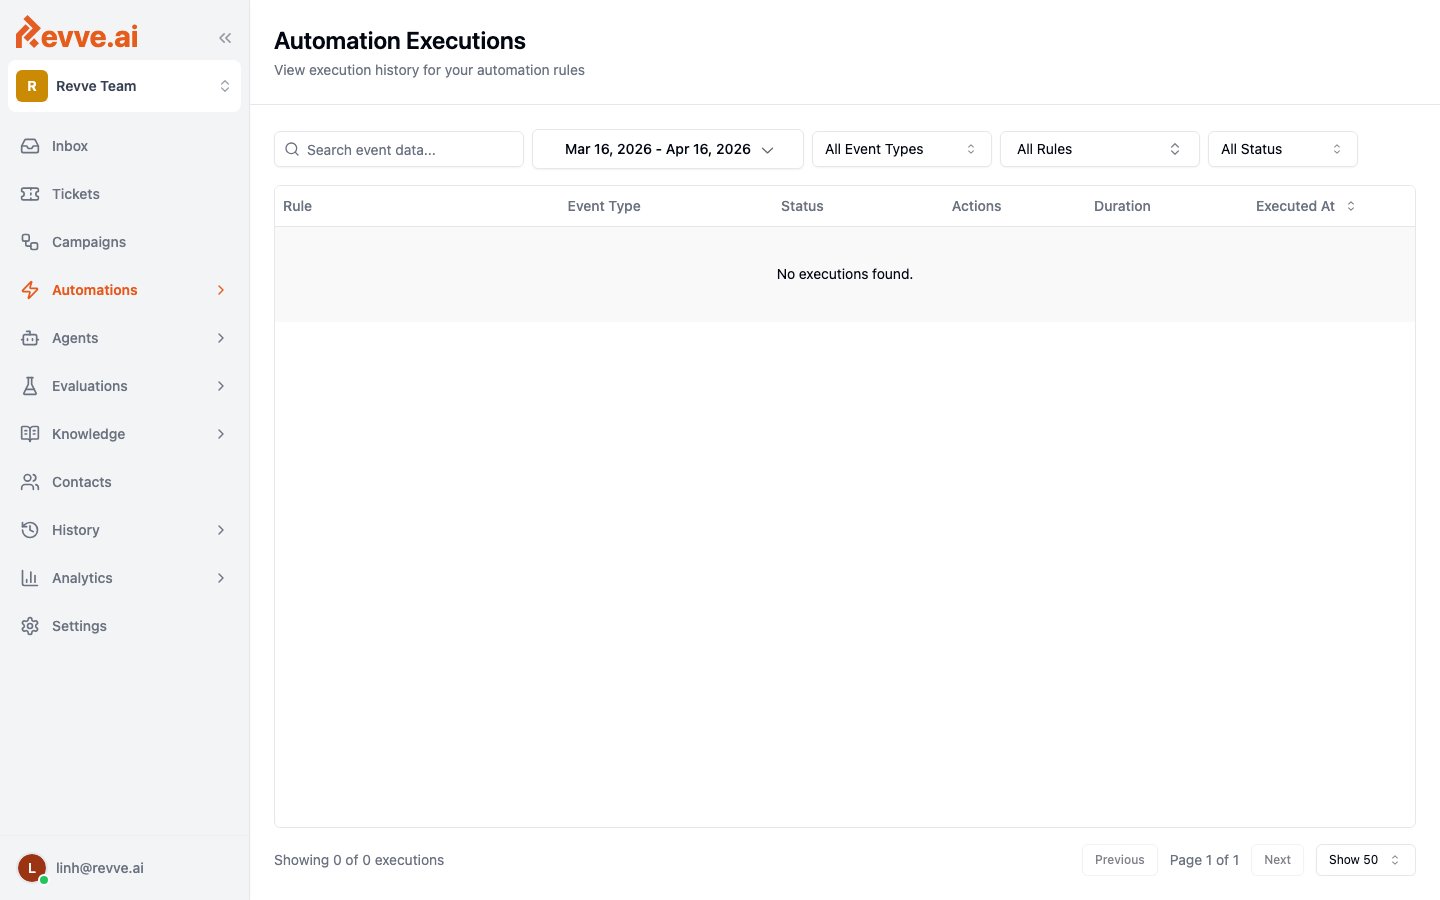
The table shows the rule, event type, status, an action success count (e.g. “2/3 success”), duration in milliseconds, and when it executed. Filter by event-data search, date range (defaults to the last month), event type (currently Call Analyzed and Call Evaluated), rule, or status. A rule whose conditions didn’t match logs no row at all — only rules that actually ran appear here.
Click a row to open the Execution Detail panel: per-action result cards with request/response details (secrets redacted), error messages, and a Retry Log for retried API calls — plus an Event Data tab with the raw payload, which doubles as a reference for the fields your conditions and templates can use.
There is no “retry execution” button. If a run failed and you want it to happen again, re-trigger the underlying event — for example, re-run the analysis or re-enroll the contact.
Key facts and limits
- AND-only conditions. To express “A or B”, create two rules on the same event — every matching active rule runs.
- One event, one run. No automatic re-runs; the only retries are the opt-in HTTP retries on API Call actions.
- Rules deactivate, they don’t delete. There is no UI to delete a rule — toggle it inactive instead.
- API Call URLs must match your team’s domain allowlist.
- Access is admin-only by default via the Manage Automations permission.
What’s Next
- Creating Automation Rules — the step-by-step builder walkthrough: conditions, operators, action configuration, and the
{{payload.field}}templating syntax. - Conversation Analysis Panel — the analysis data that Call Analyzed and Chat Analyzed events carry.