

The ticket list
The Tickets page shows every ticket in your team, 50 per page. When tickets are assigned to you and not yet closed, a blue pill at the top reads “You have N ticket(s) to resolve” — that’s your personal queue at a glance.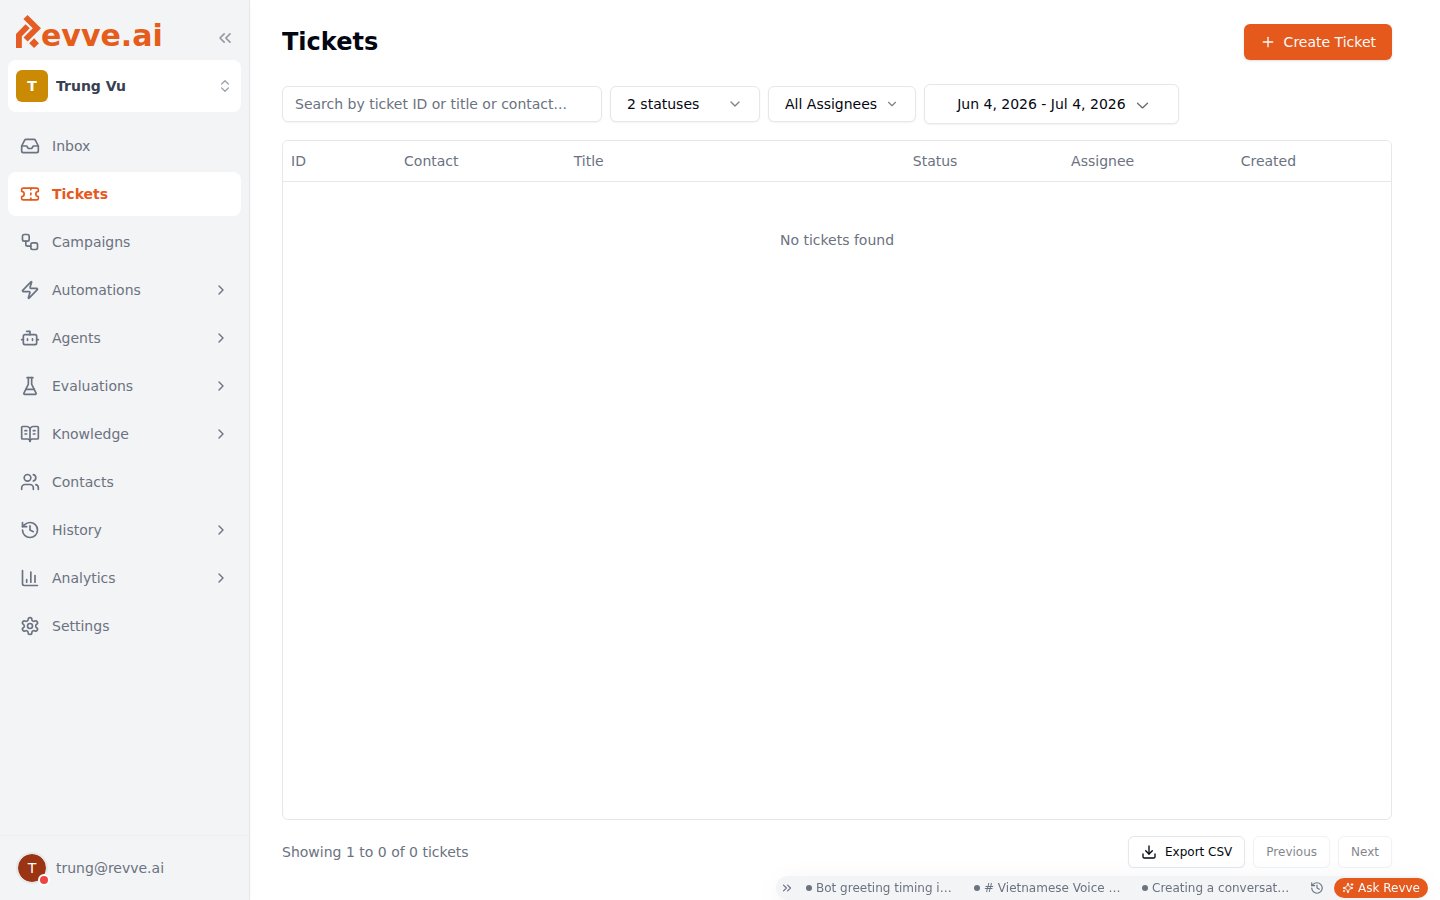
The table shows ID, Contact (name plus phone or email), Title, Status, Assignee, and Created. You don’t need to open a ticket for routine triage: Status and Assignee are editable inline, straight from the table. Click any row to open the ticket’s detail sidebar.
To pull tickets into a spreadsheet, use the Export CSV dropdown — Export Current Page or Export All Data. Exports are queued and delivered by email (“Export queued successfully. You will receive an email when ready.”), so large exports don’t block your browser.
Ticket statuses
Every ticket is in exactly one of three statuses:
One rule to know: if a ticket’s type has Allow Reopen turned off, a closed ticket is locked — you can’t change its status or assignee, and the app rejects the attempt with “Cannot modify closed ticket - reopening is not allowed”. Only close a ticket on a no-reopen type when you’re sure it’s done; otherwise the fix is a new ticket.
Working a ticket
Clicking a row opens a right sidebar titled “Ticket” followed by its ID, laid out in two columns. Left column — context and triage:- A contact card with the contact’s name (linked to their contact record), email, and phone.
- The ticket’s type badge.
- Where the ticket came from: tickets created from a chat show the agent link, a View in Inbox link to the originating thread, and the conversation’s fields; tickets created from a call show a View Call Details link.
- Status and Assigned to selects — the same controls as the inline table edits.
- Title and Description are click-to-edit (“Click to add a description…”). Click the text, type, done.
- The type’s Custom Fields, editable inline: text and number fields as inputs, boolean fields as a Yes/No switch.
- Comments — a “Leave a comment…” box; press Enter to submit. Use comments for the human trail: what you tried, what you’re waiting on, why you closed it.
- History — an automatic audit log: creation, status changes, assignments and unassignments, closes and reopens, plus per-field diffs showing the old and new values. Actions taken by AI agents or automation appear as “System”.
How tickets get created
Tickets enter the system four ways.1. Manually
Click Create Ticket at the top right of the list. The dialog asks for:
Below these, the dialog shows the selected type’s custom fields — required ones must be filled before you can submit. On success you’ll see the toast “Ticket
{ID} created successfully”.
2. By your AI agents
Chat and voice agents equipped with the Create Ticket preset tool (“Automatically create tickets from conversations”) file tickets on their own mid-conversation — see Voice Agent Tools for attaching it to a voice agent. The tool deduplicates per conversation: if an open ticket already exists for the same conversation, the agent updates that ticket instead of creating a duplicate. A new ticket is only created once the previous one is closed. So a long back-and-forth produces one evolving ticket, not a pile of near-identical ones.3. By automation rules
Automation rules can include a Create Ticket action, so tickets get filed whenever a rule’s conditions match — no human or agent in the loop. See Creating Automation Rules.4. Auto-assignment
Strictly speaking this is how tickets get assigned, not created — but it’s why AI- and automation-created tickets often arrive in someone’s queue already owned. When a ticket is created by an AI agent or an automation rule with no assignee, the routing engine picks an available human agent — preferring whoever handled the same contact in the last 24 hours, then applying your routing rules, and falling back to the least-loaded agent. It honors your routing configuration in Settings → Routing; the preset rules include a Ticket Distribution cap (“Maximum per agent: N tickets”) — once an agent hits the cap, they stop receiving new tickets until their load drops.Configuring ticket types
Every ticket belongs to a type — Bug Report, Callback Request, Refund — and the type controls the ticket’s ID prefix, starting status, reopen behavior, and custom fields. Types live in Settings → Ticket Types. Each type’s card shows its name, ID-prefix chip, description, default-status badge, and Active/Inactive and Can Reopen/No Reopen indicators; the row menu offers Edit, Configure Fields, and Delete.
Creating a type
Click Add Ticket Type:Custom fields
Configure Fields on a type defines the structured data its tickets carry — the fields that show in the ticket detail’s right column and in the Create Ticket dialog.
Deleting a type or a field asks for confirmation with “This action cannot be undone.” Prefer deactivating a type over deleting it when it has history you may need.
What’s Next
- Inbox Overview — where chat-created tickets link back to via View in Inbox.
- Creating Automation Rules — file tickets automatically with the Create Ticket action.